CREDIT: OPEN MIND Technologies
OPEN MIND Technologies, a leading developer of CAD/CAM software solutions worldwide, announced it will be highlighting the hyperMILL 2024 CAD/CAM Software Suite at the International Manufacturing Technology Show (IMTS) Booth #133351 located in the Software Pavilion - East Hall at McCormick Place, Chicago IL from Sept 9 - 14, 2024. OPEN MIND recently introduced its latest hyperMILL 2024 CAD/CAM software suite which includes a range of powerful enhancements to its core toolpath capabilities, as well as new functionality for increased NC programming efficiency in applications ranging from 2.5D machining to 5-axis milling.
In addition to its show presence, OPEN MIND together with Oak Ridge National Laboratory will be making a presentation at the IMTS Conference Sessions titled “HEAL-IT: Hybrid-Manufacturing Enabled Agility and Longevity of Industrial Tools”. The presentation by David Bourdages, additive manufacturing product manager at OPEN MIND Technologies and Lauren Heinrich, R&D staff member at Oak Ridge National Laboratory Manufacturing Demonstration Facility, will focus on a recent collaboration to repair a bottle mold using hybrid manufacturing (additive and subtractive machining), and will take place on Wednesday, September 11 at 11:00 a.m. – 11:55 a.m. in Room W192-C, West Hall at McCormick Place.
New and enhanced CAM capabilities
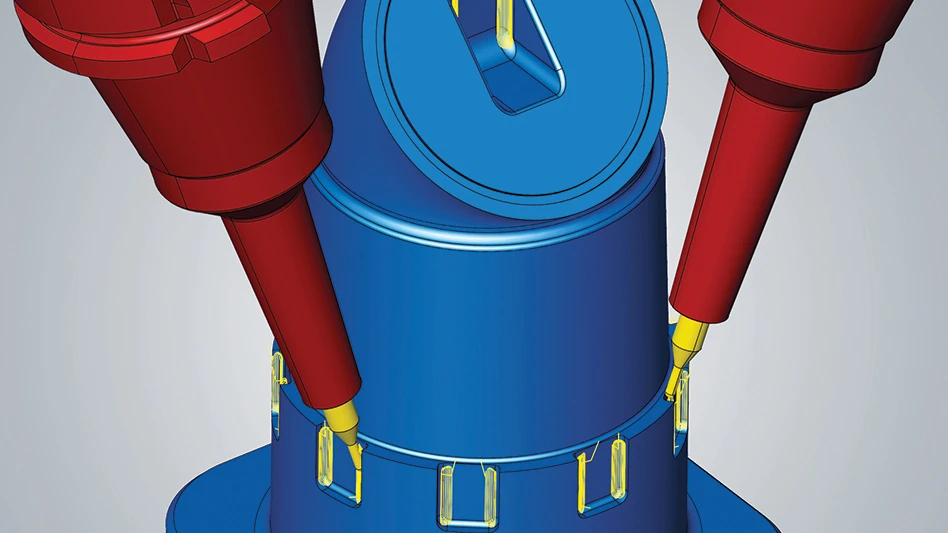
An Optimized Deep Hole Drilling CAM strategy offers improved machining reliability by providing a user-friendly interface with process-relevant parameters clearly defined on a new process tab. New capabilities enable coolant and dwell time stages to be identified, allow a chip break to be integrated into a drilling process, and more. A new single-tip gun drill tool simulation function provides precise collision checking and a detailed visualization of the stock removal.
A new algorithm for 3-axis and 5-axis Rest Machining ensures automatic, complete detection of all rest material areas, in addition to optimized toolpath calculations for faster, reliable machining. Toolpaths are now optimally divided to ensure more efficient machining, and the detection of intersection areas where paths meet has been optimized for collision avoidance.
An additional toolpath improvement is an enhanced path layout for the 3D Plane Machining cycle. The new strategy has a smoother path and fewer pick-ups. While the toolpath length (distance) may be longer in some cases, the machining time, as tested on a variety of NC controllers, has been reduced.

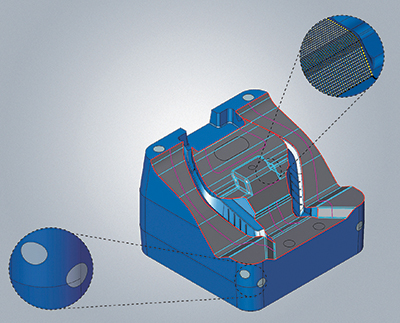
A new, novel generation of programming assistance and analysis, “CAM Plan” is introduced in hyperMILL 2024, simplifying various programming tasks and identifying possible sources of error. Predefined workflow steps safely guide users through the preparation and programming process, while the geometries and features required are automatically created. Also, potential errors are flagged for removal such as double surfaces or gaps between model patches.
Once the data is organized, the CAM workflow can be processed with more intelligence and higher efficiency. The first benefit from hyperMILL CAM Plan is that component topology is analyzed to produce a precise toolpath that has command locations aligned with key geometric features and with optimized point distribution for milling. The result is improved surface finishes, easier processing by NC controllers, and reduced machining times.
Optimizing VIRTUAL machining
For easy generation of 3-axis and 5-axis NC programs with axis change and an optimized use of the workspace, the NC Optimizer feature in the hyperMILL VIRTUAL Machining strategy now offers the option to transform X- and Y-axis movements into a movement that utilizes the rotation axis in the table. By swapping axes, an XY movement is transformed into a simultaneous CX movement which eliminates rewind movements during machining. This is especially impactful on machines that have a limited linear axis range.

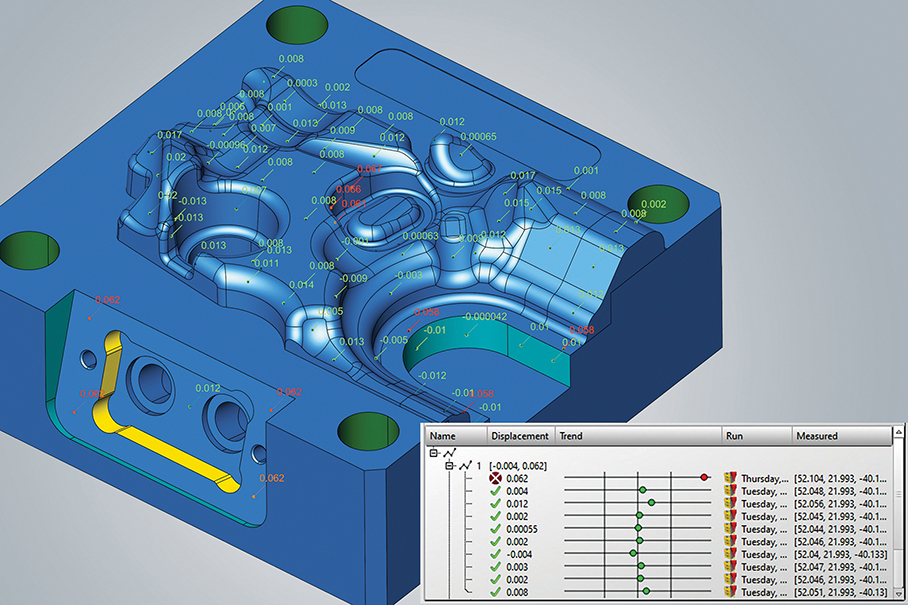
The reading back of measuring points when using hyperMILL VIRTUAL Machining is a new feature that allows graphical representation of measured points on the part model, rather than comparing a list of measurement results. Users can also quickly identify measuring points that are out of tolerance on a 3D part model and compare trends over sequential measurements. As a result, it is much easier to analyze and compensate for inaccuracies and tool wear after milling.